


-
Living Room Colour Ideas
All Living Room Inspirations Blue Living Rooms Brown Living Rooms Grey Living Rooms Green Living Rooms Orange Living Rooms Purple Living Rooms Pink Living Rooms Red Living Rooms Yellow Living Rooms White Living Rooms
-
Bedroom Colour Ideas
All Bedrooms Inspirations Blue Bedrooms Brown Bedrooms Grey Bedrooms Green Bedrooms Orange Bedrooms Purple Bedrooms Pink Bedrooms Red Bedrooms Yellow Bedrooms White Bedrooms


Light, and Life to India's Homes.
At JSW Paints, we believe true beauty is not just about looking good, but about thinking and doing good.
thoughtful is beautiful.
That is why we have infused thoughtfulness in every drop and detail.
How to Waterproof Exterior Walls: Step-by-Step Application Guide
Exterior walls face exposure to changing weather conditions throughout the year. Rain, sunlight and humidity gradually wear down exterior wall surfaces, leading to internal dampness and structural wear.
Protecting your exterior walls with waterproofing helps prevent water penetration and maintain your home's strength. This guide will explain how to identify early signs of damage caused by water ingress, and the step-by-step process for applying a waterproof coating to keep your walls protected for years to come.
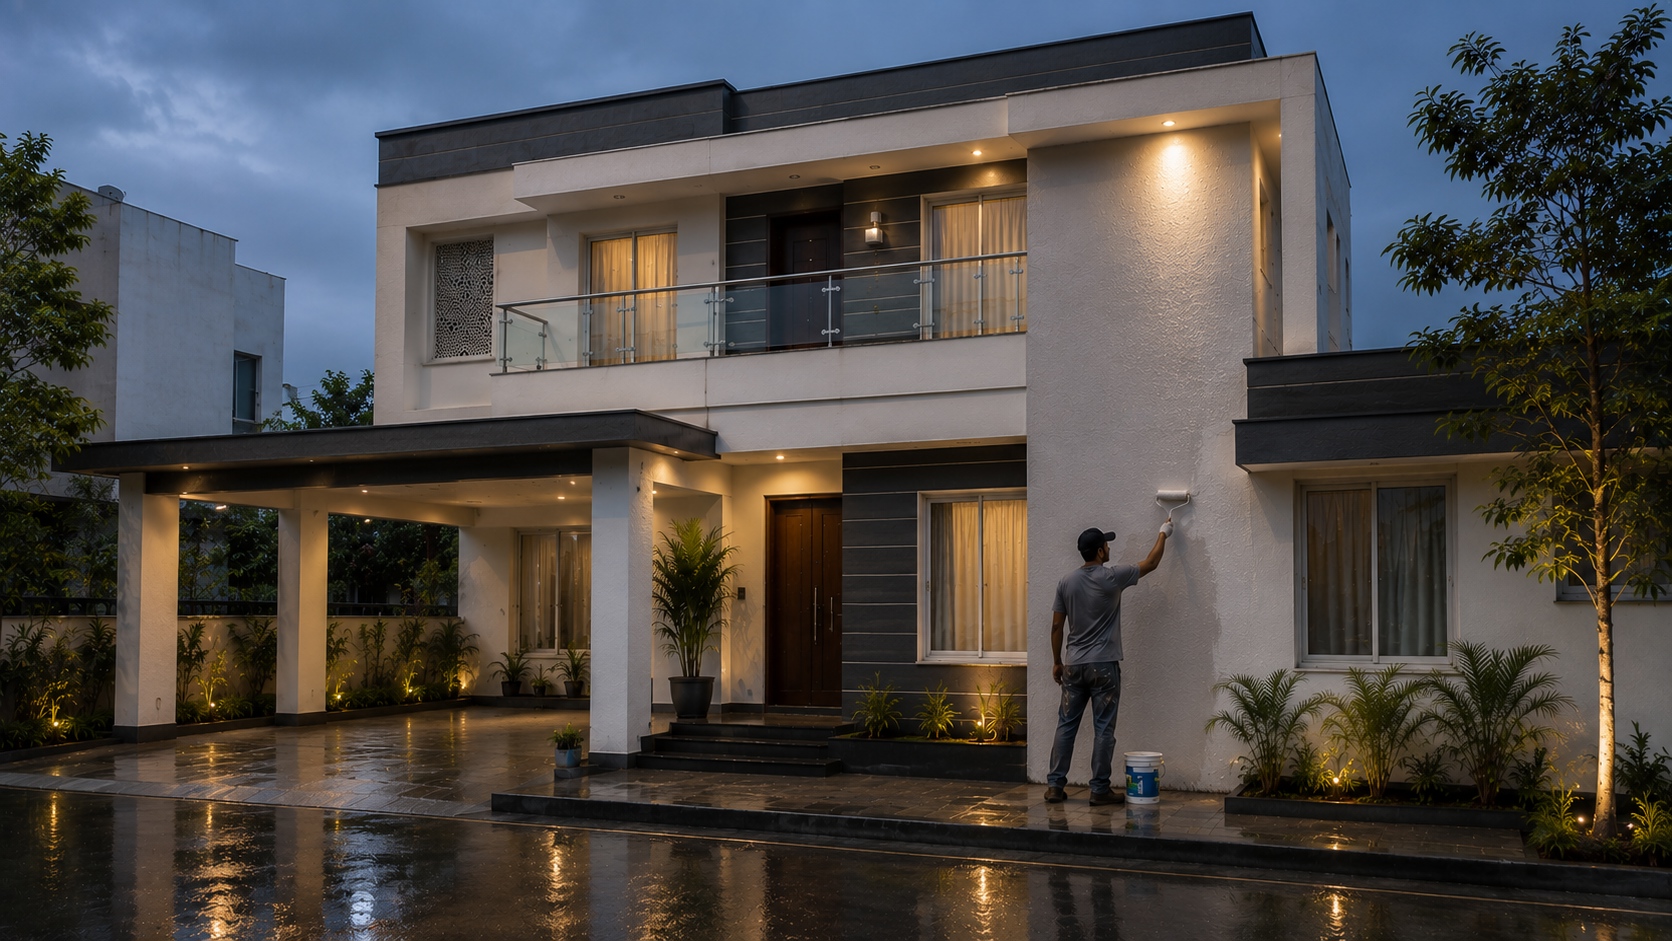
When Should You Waterproof Exterior Walls?
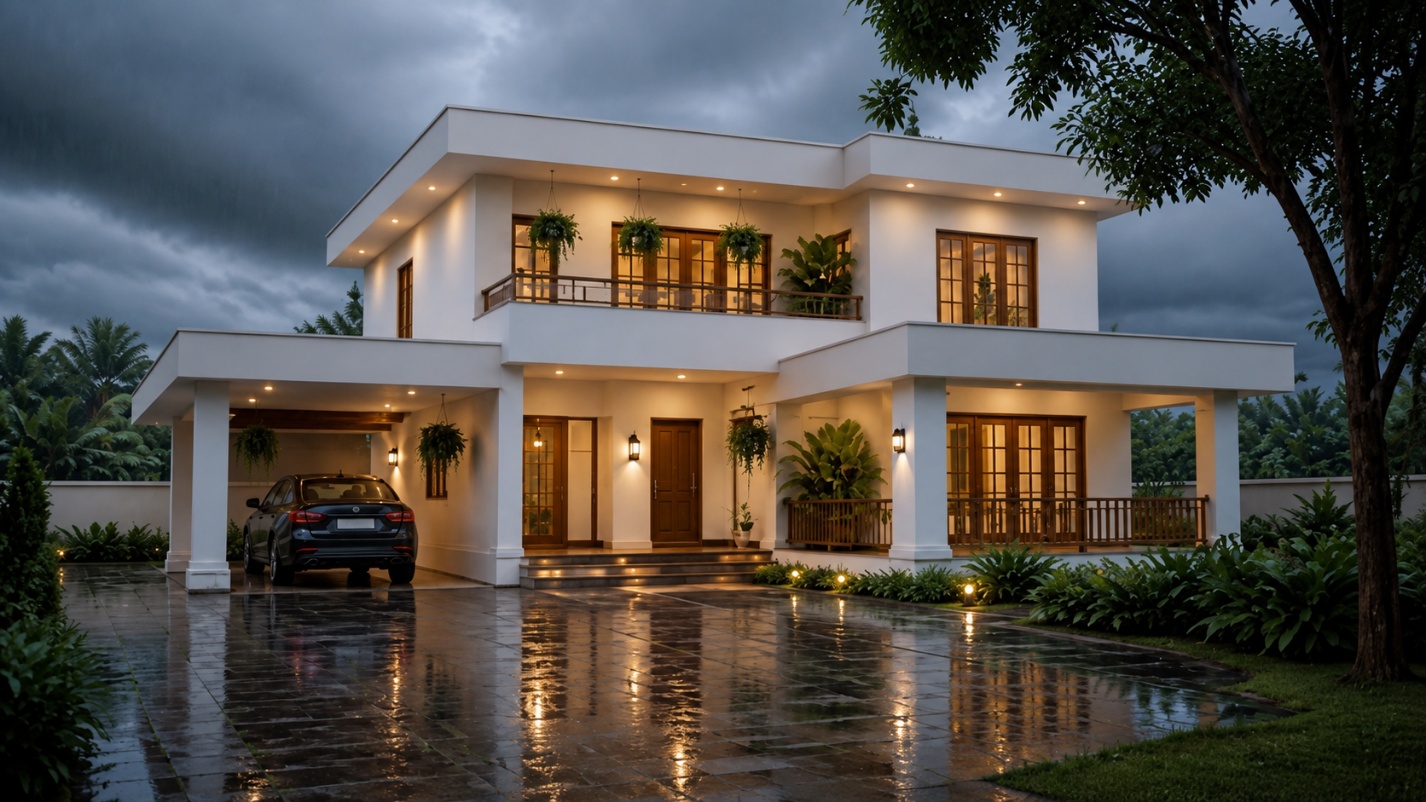
Exterior walls are the first line of defence against rainfall, humidity and sunlight. Waterproofing them creates a protective barrier on outer wall surfaces to prevent moisture penetration. It shields the building structure, preserves indoor walls from dampness and maintains the visual appeal of your home.
Waterproofing Warning Signs:- Fine hairline cracks or visible splits appearing on outer plaster surfaces.
- Damp patches, water stains or dark discolouration on internal walls.
- Peeling, flaking or bubbling paintwork across exterior walls.
- White powder forming on wall surfaces. (also called as efflorescence)
- Growth of green algae, moss or mould on damp exterior areas.
- Persistent musty odours inside rooms adjacent to outer walls.
- Flaking plaster or crumbling masonry near wall bases and edges.
It is best to apply iBlok exterior Water proofing range during warm, dry weather conditions before the rainy season arrives. Early treatment allows the protective layers to cure fully and bonding agents to dry completely.
Pre-Monsoon vs Post-Monsoon Application
| Parameter | Pre-Monsoon Application | Post-Monsoon Application |
|---|---|---|
| Objective | Prevents moisture entry before the rainy season arrives. | Repairs existing moisture damage caused by past rainfall. |
| Surface Moisture | Walls are already dry, making them suitable for waterproofing. | Walls need sufficient time to dry after prolonged exposure to rain. |
| Surface Preparation | Requires dust removal and crack filling. | Needs extensive drying time and algae removal. |
| Product Adhesion | Dry surfaces help waterproofing products bond more effectively. | Residual moisture can affect the bonding of protective coatings. |
| Drying and Curing Time | Warm dry air shortens the drying intervals. | High humidity slows down curing of coatings. |
Products You Need Before Starting
Successful exterior waterproofing begins with selecting products designed for each stage of the process. A complete system usually includes surface repair materials, waterproofing primers, protective base coats and durable waterproof paint for walls.
For a complete exterior wall waterproofing system, consider the following JSW Paints products:
| Stage | Recommended Product | Purpose |
|---|---|---|
| Surface Repair | iBlok Crack Filler | Repairs hairline and minor cracks before waterproofing, creating a smooth and stable surface for coating. |
| Waterproof Base Coat | iBlok WaterProofing Range (ex: iBlok Waterstop Base Coat) | Forms the primary waterproof barrier, bridges minor cracks and resists water pressure before the top coat is applied. |
| Exterior Top Coat | Aurus Exterior / Halo Exterior | Weather-resistant exterior emulsions that provide UV protection, colour retention and an attractive finish while safeguarding the waterproofing layer from harsh weather conditions. |
Step-by-Step Exterior Wall Waterproofing Process
Leak-proofing early prevents expensive structural repairs, mould-related health concerns and unsightly wall flaking.
Step 1 - Clean and Prepare the Wall Surface
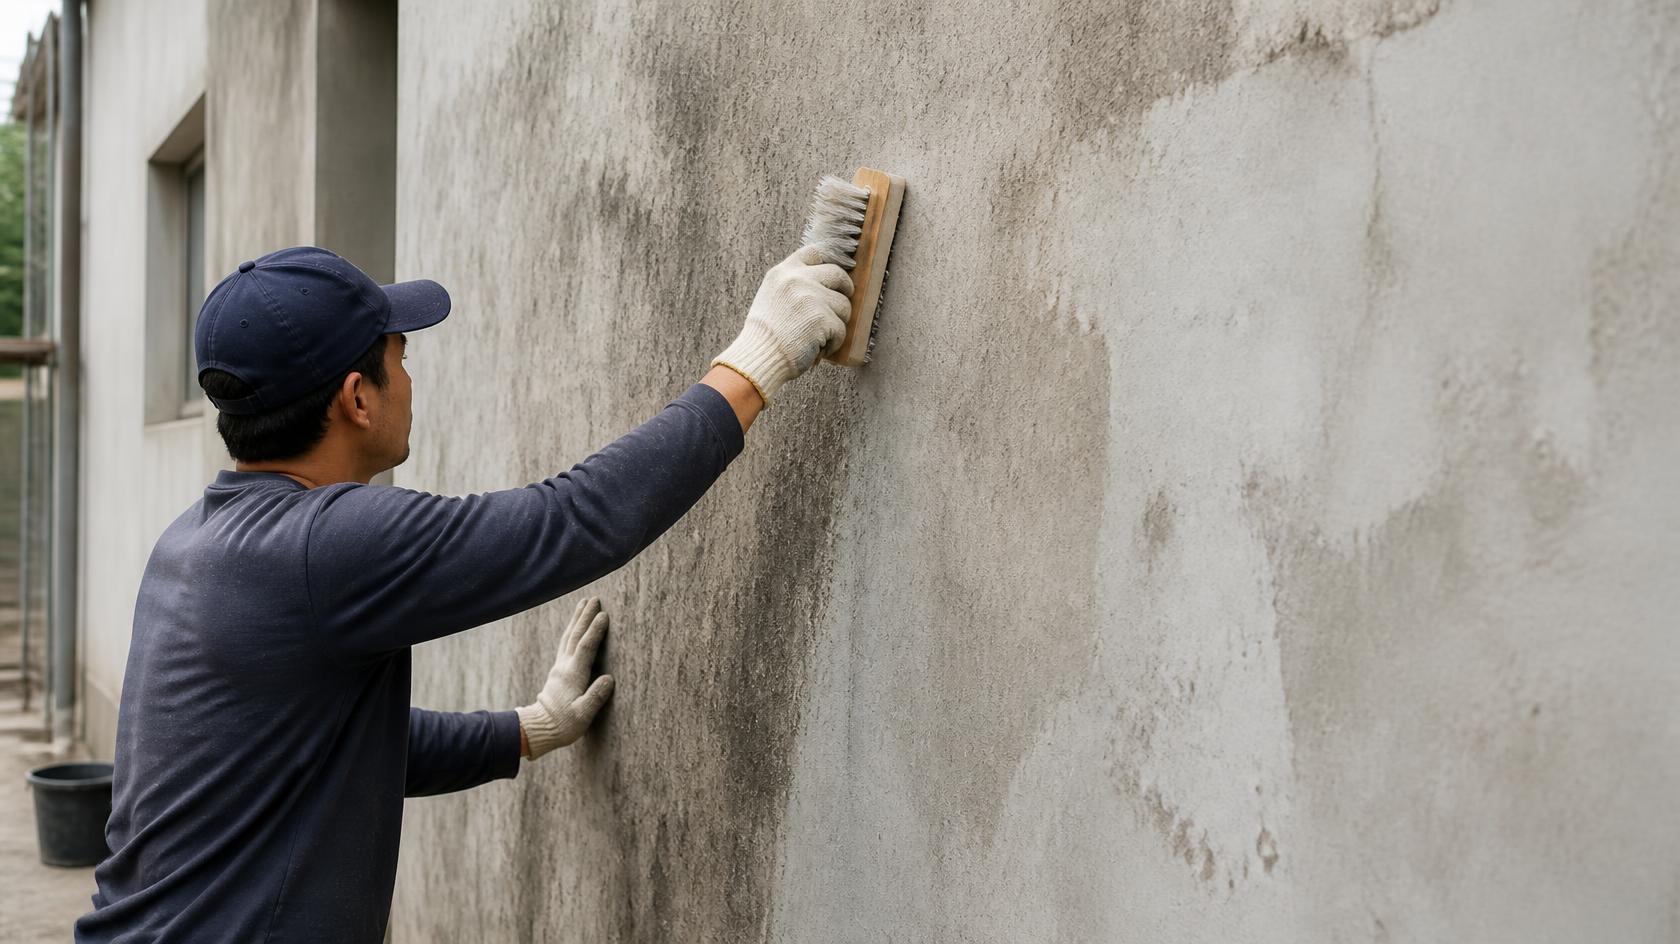
Thorough surface preparation creates a clean foundation for waterproofing and wall surfaces. Remove dust, loose plaster and flaking paint using a wire brush or high-pressure water jet. Wash away any fungal growth completely and allow the entire wall to dry thoroughly.
Step 2 - Repair Cracks and Fill Gaps
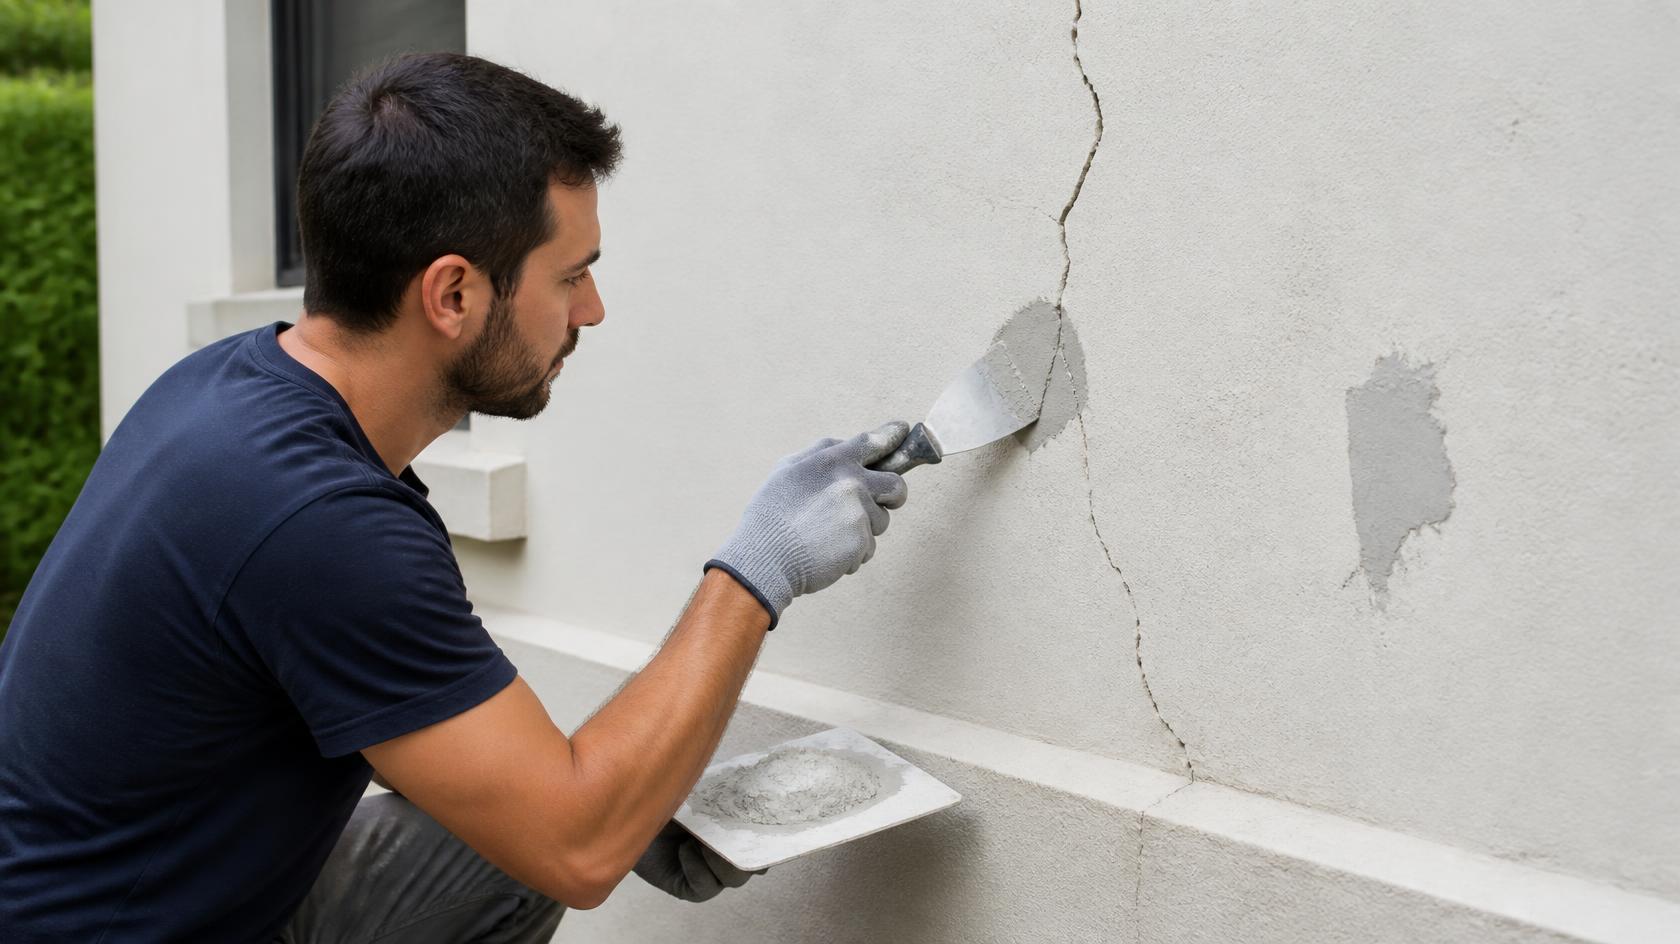
Inspect outer walls for visible cracks to ensure water cannot bypass your protective coatings.
For long-lasting protection, apply JSW Paints iBlok Crack Fix, a fibre-reinforced acrylic paste that offers excellent flexibility and weather resistance. It fills cracks up to three millimetres wide smoothly without shrinking or cracking over time.
Step 3 - Apply the First Coat of Waterproofing Base Coat
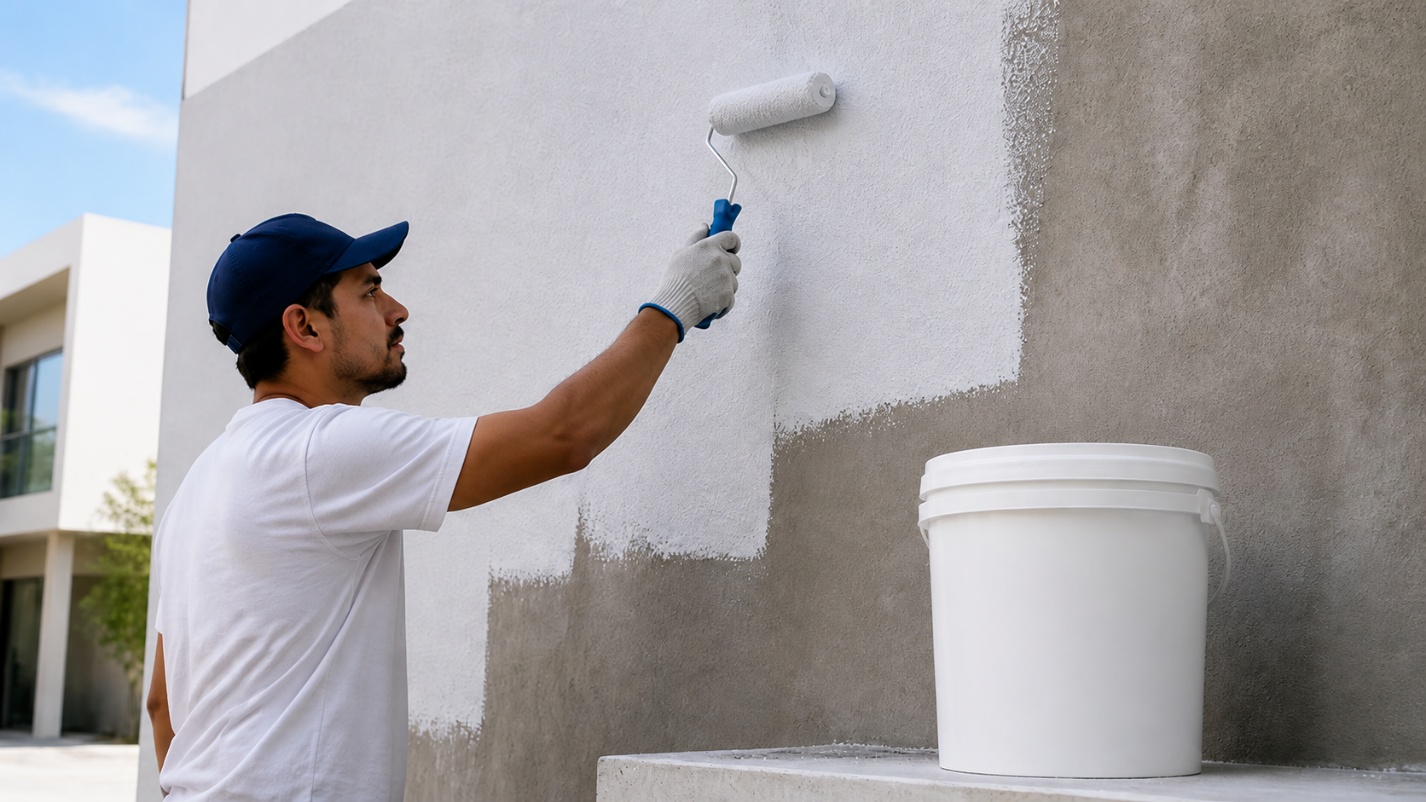
Applying a primer seals porous surfaces and ensures strong bonding for subsequent layers.
Use JSW Paints iBlok Waterstop Base Coat Exterior as a sealing layer. This acrylic undercoat deeply penetrates porous surfaces, bridging fine hairline cracks while providing excellent resistance to efflorescence and hydrostatic pressure.
Step 4 - Apply the Second Coat of Waterproofing Base Coat
Once the first coat has dried as recommended, apply one additional coat of iBlok WaterStop Base Coat Exterior without dilution. Applying two coats helps build the required waterproofing layer and provides protection against water ingress, while also helping bridge minor cracks.
Step 5 - Apply Topcoat Paint
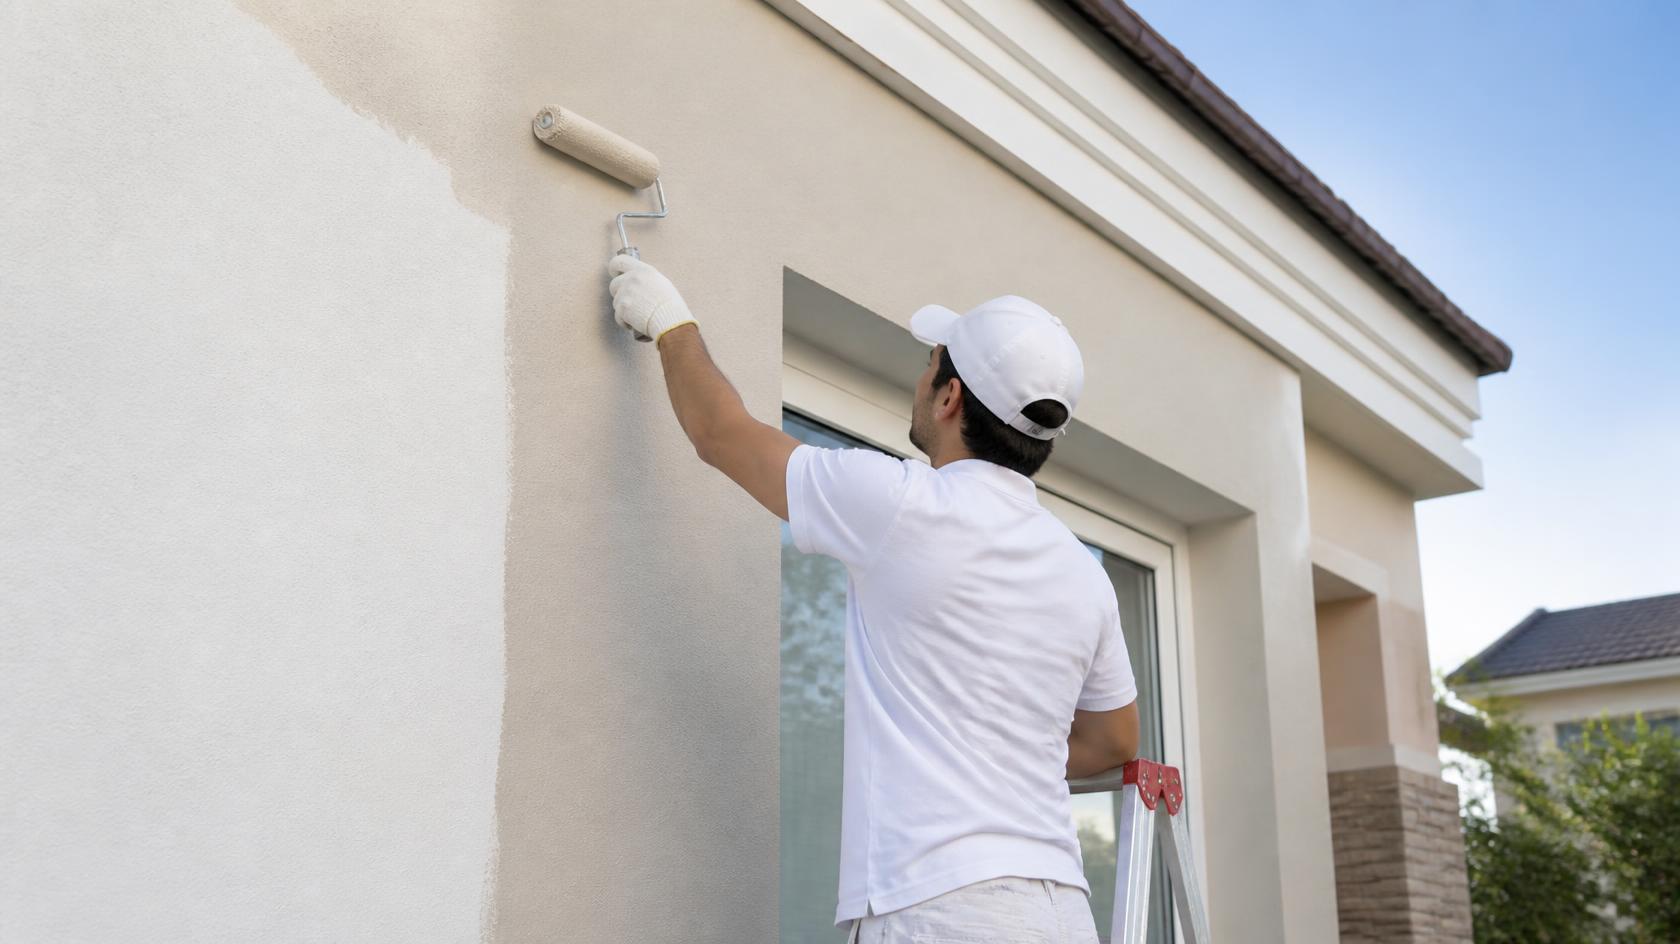
Finish your walls with JSW Paints Premium Emulsions from Halo or Aurus exterior Wall Paints. It combines superior dirt pick-up resistance with vibrant colour retention. It offers high resistance to algae, environmental wear and pollution, ensuring your exterior walls remain beautiful and well-protected for years.
Drying Time and Curing Period
Drying and curing depend on several factors, including:
- Weather conditions during application
- Type of waterproofing product used
- Thickness of each coat
- Surface condition and moisture content
- Air circulation around the wall
Typically, each coat of JSW iBlok WaterStop Base Coat requires around 4–6 hours of drying time under dry weather conditions. Complete curing of the applied layers may take 2–3 days before exposing the surface to rain or conducting water tests.
How Long Does Exterior Waterproofing Last?
A professionally executed exterior waterproofing system typically lasts between 5 and 10 years before requiring full reapplication.
JSW Paints iBlok Range for Exterior Waterproofing
The JSW Paints iBlok range provides complete protection against rain, dampness and environmental damage. These high-performance products seal pores, bridge cracks and resist harsh weather elements.
Using this system ensures dry internal walls, strong structural integrity and long-lasting exterior beauty for your home.
FAQs on Exterior Wall Waterproofing
What happens if it rains while applying waterproofing?
Rain washes away wet waterproofing coats. Work must be stopped immediately, and affected wet areas must dry completely before reapplying the product.
Is surface dampness acceptable during application?
No, exterior walls must be completely dry. Trapped moisture under waterproof coatings causes bubbling, blistering and premature coating failure.