-
Living Room Ideas
Blue Living Rooms Brown Living Rooms Grey Living Rooms Green Living Rooms Orange Living Rooms Purple Living Rooms Pink Living Rooms Red Living Rooms Yellow Living Rooms White Living Rooms All Living Room Inspirations
-
Bedroom Ideas
Blue Bedrooms Brown Bedrooms Grey Bedrooms Green Bedrooms Orange Bedrooms Purple Bedrooms Pink Bedrooms Red Bedrooms Yellow Bedrooms White Bedrooms All Bedrooms Inspirations
Bringing Beauty,
Light, and Life to India's Homes.
At JSW Paints, we believe true beauty is not just about looking good, but about thinking and doing good.
We believe
thoughtful is beautiful.
That is why we have infused thoughtfulness in every drop and detail.
Bathroom Waterproofing Techniques to Keep Your Bathroom Decor Durable
A stylish bathroom is one of the highlights of a modern home. But no matter how well-designed it is, water damage can silently destroy everything from tiles and walls to paint and cabinetry. The solution? Effective bathroom waterproofing.
Waterproofing is the key to making sure your bathroom decor stays durable, clean, and attractive for years. In this blog, we’ll break down why waterproofing is important, which areas need protection, and the best techniques to use.
Why Bathroom Waterproofing Is Essential
Bathrooms are exposed to water daily—on floors, walls, ceilings, and even inside cabinets. If moisture seeps into the wrong places, it can cause:
- Mold and mildew growth
- Peeling paint and tile adhesive failure
- Damp patches on walls
- Rotting wooden cabinets or vanities
- Structural damage beneath the surface
Once water damage sets in, repairs are expensive and time-consuming. Waterproofing helps prevent these issues right from the start. It’s not just a technical step—it’s a protective foundation for your bathroom’s beauty and function.
Areas in a Bathroom That Must Be Waterproofed
Every bathroom has specific “wet zones” that are at high risk of water exposure. These areas require proper waterproofing:
- Shower area (walls and floor)
- Flooring near the toilet and sink
- Walls adjacent to bathtubs or showers
- Ceiling below another bathroom (in multi-storey homes)
- Junctions between wall and floor
- Behind mirrors, vanities, or storage units
Missing even one of these zones can lead to water leaks or humidity buildup, especially in compact bathrooms with poor ventilation.
Step-by-Step Bathroom Waterproofing Techniques
Here’s how to properly waterproof your bathroom, whether you’re building new or renovating an old one.
1. Surface Preparation with Waterproofing Layer
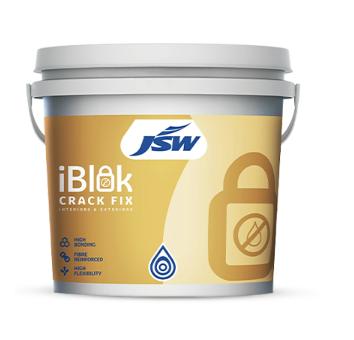
Start with a clean, dry surface. Remove dust, debris, loose plaster, and oil. Fill any cracks or holes with iBlok Crack Fix up to 3mm.
Pro Tip: Make sure the floor has a gentle slope toward the drain to prevent standing water.
a. Waterproofing with iBlok Waterstop Base Coat – Interior
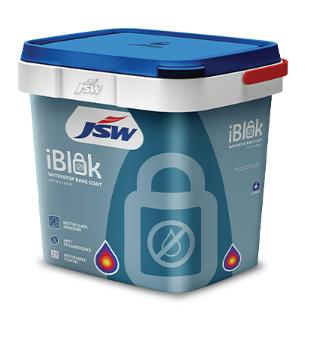
Now apply iBlok Waterstop Base Coat, a breathable, anti-efflorescence undercoat that forms a solid base layer and protects interior walls against surface dampness.
- Ideal for interior wall prep
- Helps prevent long-term moisture damage
- Ensures stronger adhesion for topcoats
b. iBlok Waterstop 3K – Advanced Crystalline Protection
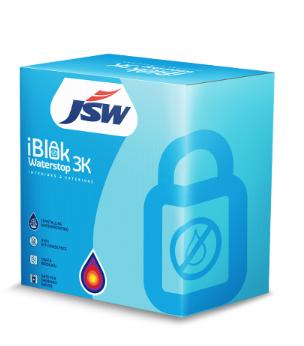
Apply iBlok Waterstop 3K, a three-component crystalline waterproofing system engineered for superior durability.
- Best for bath area or bathtubs and areas exposed to high water pressure
- Helps in Crack-bridging, anti-efflorescence, and long-term resistance
c. iBlok Waterstop Damploc – Interior
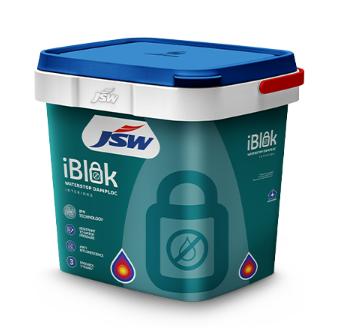
Powered by IPN technology, iBlok Waterstop Damploc Interiors is a best-in-class undercoat that creates a waterproofing film that locks dampness & efflorescence. It works for areas prone to dampness or interior surfaces needing robust protection and is ideal for surfaces having 40%-70% moisture.
Best for: Interior bathroom walls with features such as anti-efflorescence, moisture barrier, and IPN strength.
2. Seal Joints, Corners, and Openings
Use waterproof tape or reinforcing fabric at junctions between the floor and the wall, around pipes, and near drains.
3. Curing and Drying Time
Allow sufficient time for the waterproofing layers to fully cure before tiling. Always refer to the product’s technical datasheet for exact drying times.
4 . Tiling and Grouting
Once the waterproofing is set:
- Use waterproof tile adhesive
- Choose epoxy or polymer-modified grout for long-term durability
- Seal expansion joints with flexible silicone sealant
Maintenance Tips for a Waterproof Bathroom
Even with the best waterproofing, routine care matters:
- Reseal grout and silicone joints every few years
- Fix leaks immediately
- Use exhaust fans for ventilation
- Clean regularly to prevent mold
- Watch for early signs: peeling paint, musty odours, or tile cracks
How Waterproofing Protects Your Bathroom Decor
Waterproofing might seem like something behind the scenes, but it’s what allows your bathroom decor to last. Here’s what it protects:
- Wall paint and tiles: No more peeling or damp patches
- Cabinets and vanities: Keeps wood and MDF safe from moisture
- Lighting and fixtures: Prevents rust and electrical risks
- Mirrors and accessories: Avoid corrosion and fogging
- Overall aesthetics: Maintains a clean, fresh, stylish look
It’s simple: without waterproofing, decor doesn’t stand a chance.
Conclusion
Bathroom waterproofing isn’t an optional extra—it’s the foundation of a durable, beautiful, and low-maintenance space. Whether you’re updating your decor or starting from scratch, waterproofing should always come first.
Think of it as an invisible shield. You can’t see it, but it protects every visible detail you care about. Invest in proper techniques, use the right materials, and do it before you decorate.
Because a beautiful bathroom is only as strong as the protection beneath it.


